
|
Warning: virtual() [function.virtual]: Unable to include '/leftbar.htmlf' - request execution failed in /usr/home/dajones/www/unixmonkey/archive/articles/floppyled/page3.php on line 15 |
Now, since we removed those four screws (green ones) earlier, the circuit board is loose, and is connected to the mechanical stuff by only a small white ribbon cable.
Flip it over so you can see what you'll be working on. I put a piece of thick paper between the two circuit boards to make sure the circuits don't touch each other when I turn it on. (for testing purposes) Then I heated up my soldering iron and while pulling up on the LED with an Alligator clip, heated the solder on one side, then the other, then back and again in kind of a rocking motion until the LED is no longer connected. Then I melted some solder back on the contacts (since the LED took most of it with it), and tested it with a voltemeter. When there is drive activity (when the LED lights up), this model puts out 5 volts. So I went to Radio Shack and picked up a pair of blue 5v, 30mA, 300mcd LEDs (Radio Shack part number 276-311). I soldered these in place of the old LEDs, makeing careful note of which side is positive (+) and negative (-), The positive lead is the smaller piece in the bulb, and the big side is the negative lead. 
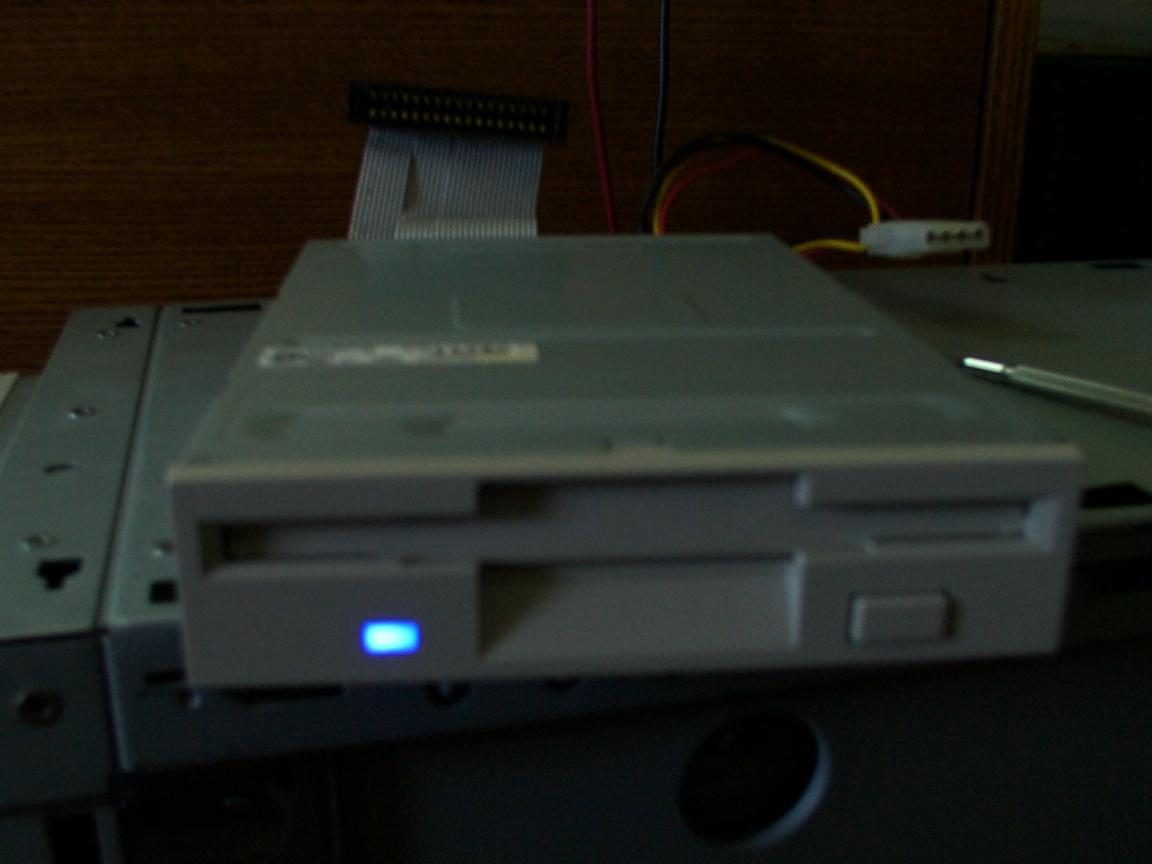
Put it all together again, and fired it up. Here's what it looks like with the lights on and off. 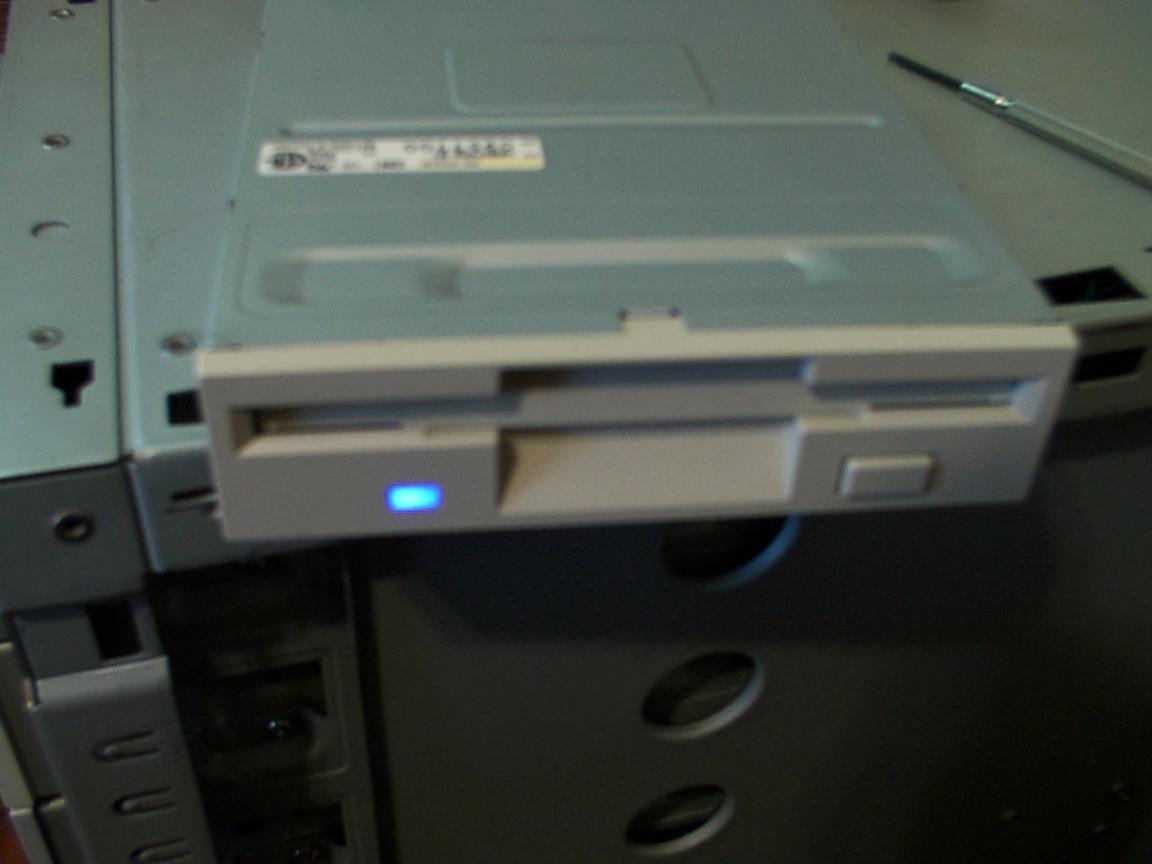
Any Questions?, Email me: dave@unixmonkey.net |